

3D Visual Aids can help clients understand the outcome of the design process.Recently, we had a project nearing completion where the clients were unsure of the lighting choices within an open plan lounge/dinning room. Many clients get nervous as things start being put into position in projects as they cannot always visualise the final result. Our job, as designers, is to reassure the clients that once everything is in place it will all work very well together, and if the clients have a larger issue, to find a resolution before the project reaches completion.
In this case, the clients were worried that there was not going to be enough light in the area. The area hosted a dining table with 3 pendant lights hanging above. There was also a dark wood panelled chimney breast and a drinks cabinet in place. At the time that they saw it, there was only 1 bulb in the lights above the table, and no lights in the rest of the (large) room at dusk. We explained to them that the combined light from around the room, paired with the dimmable pendant lights would provide the perfect light for entertaining around the dining table. There would also be a large mirror hung on the chimney breast which would reflect additional light which would make an impact.
I took the floorplan that Kia drew up into Autodesk Revit, and with help of 3d Visual Aids created some Visualisations to show how the area changes with the addition of different factors. The space/items are not exact, but is a good representation, therefore it would help the clients understand how it would all work together once completed.
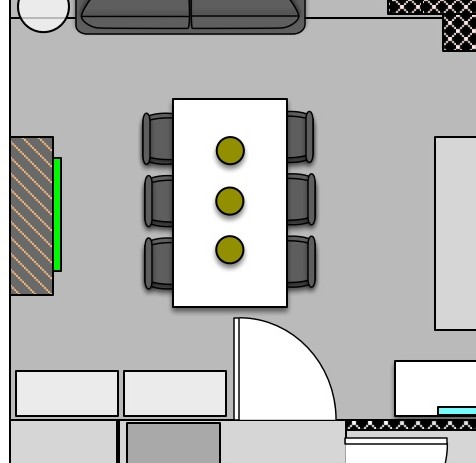
Plan for featured section
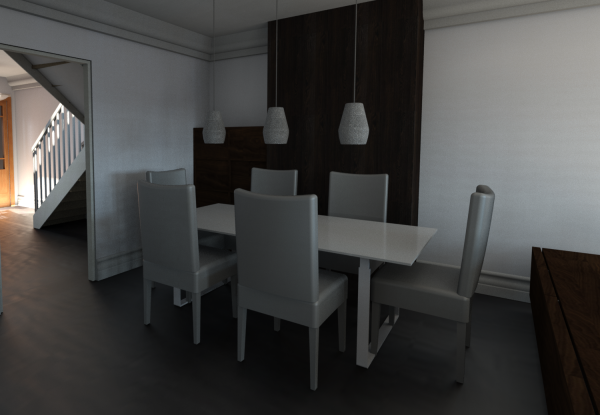
Firstly an image to show what the clients saw so that they have a point of reference to compare with the completed look:
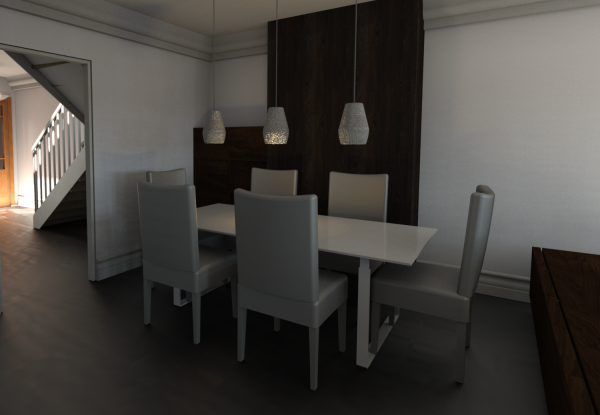
What the client saw and was worried by.
I then turned on all the lights above the table so that they could see the impact with no other supplements. This image shows only the lights in this area with no daylight:
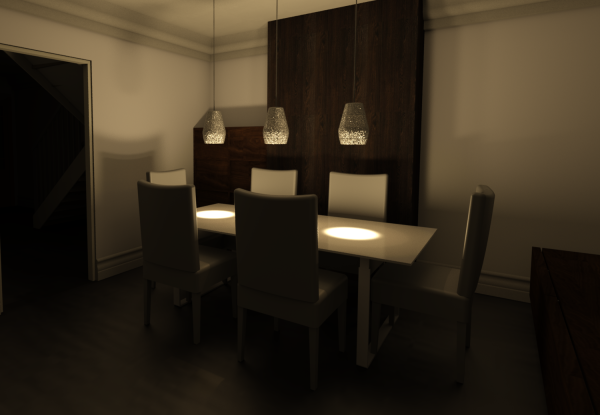
Artificial light for that area only
I then introduced the lighting around the house which would all contribute to the amount of light in area creating a more diffused look. I also added in the mirror which will be hung on the cladded wall which reflects additional light from around the room, in addition to making the space look bigger:
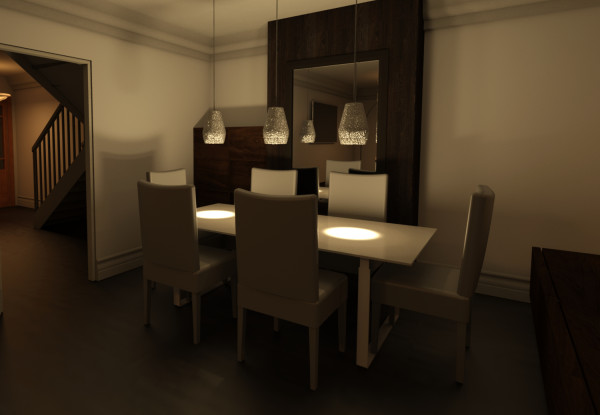
Introduction of primary lighting and mirror
To show the impact that the mirror can have, I turned all the lights off showing the effect of just daylight. This first image does not include the mirror:
Daylight without mirror
The second image includes the mirror, you can see how the area appears brighter due to the light reflected from the TV area opposite. The pale walls help with this as it provides a contrast to the dark wood cladding and adds depth to the space:
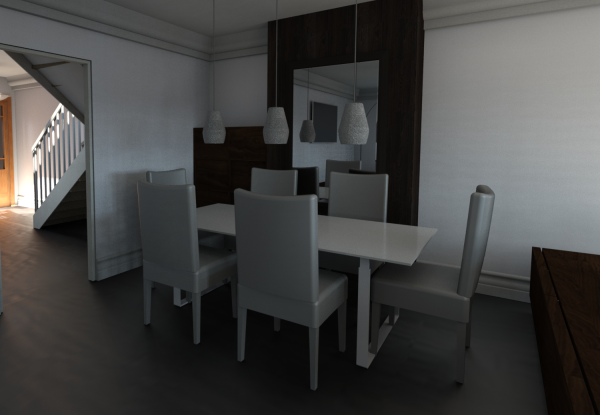
Daylight with mirror
Finally an image to show the artificial light paired with the daylight. The space becomes very bright and the reflections upon the table top create a lovely classy affect and the light bounces of the bashed metal pendants:

Artificial and Daylight combined
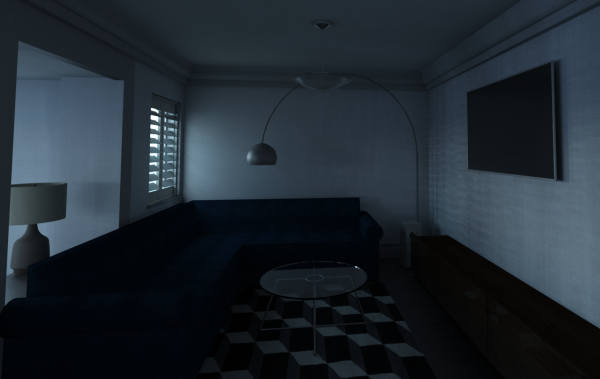
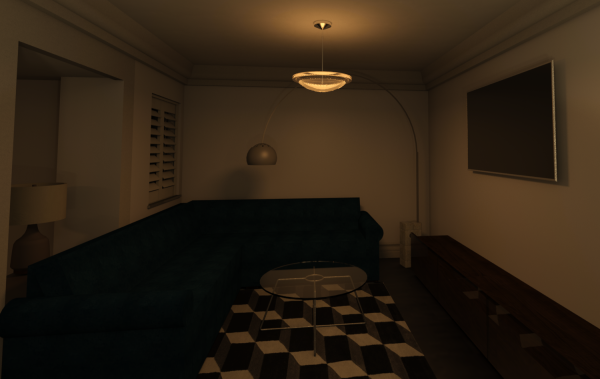
These helped to reassure the clients that there would be enough light in the area. 3D visualisations are extremely useful for showing how a rooms look can change at different time of day. For example, the clients were not keen on the positioning of the floor lamp, however we advised them on how it would be useful when watching TV as you do not always want a bright space due to glare. It is nice to create a cosy area using secondary lighting, the images below demonstrate this.
Daylight
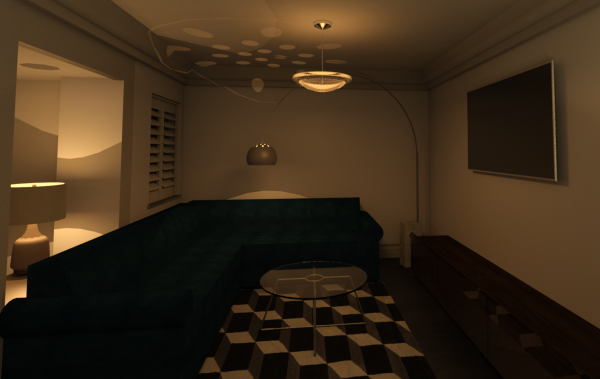
Both Primary and Secondary lighting
Primary light only
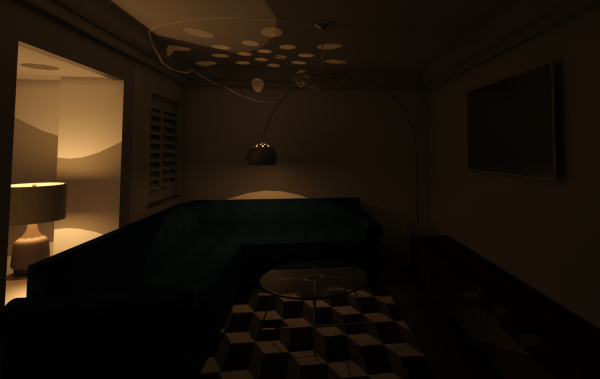
Secondary light only
